The Final Touch: Drapery Hardware
November 16, 2020
Creating a Client for Life
June 28, 2021If you've ever taken your own photos after completing a design for a client, what I'm about to say won't come as any surprise: Photographing window treatments is difficult.
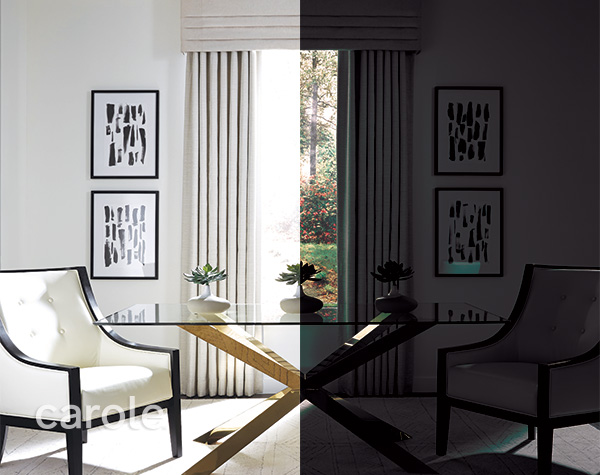
You're trying to work against one of the basic lighting rules in photography, which is to avoid backlight. Having the primary light source behind your subject means that all of the shadows are in front, throwing the subject into a dark silhouette with little detail. The light may also create a halo as it passes the subject, making edges appear out of focus.

The spectrum from the lightest lights to the darkest darks is called the "dynamic range." Our eyes are impressive in their ability to detect details within a wide dynamic range, as in the top gradient. The best camera sensors available can't yet achieve the same range that our eyes can — and, let's be honest, few of us amateurs have top-of-the-line cameras or would know how to use them to their best advantage.
The cameras that we as amateur photographers use — mobile devices, point‑and‑shoots, or DSLR cameras — are even more limited in their dynamic range, as in the bottom gradient. Notice how the only the middle range is separated into smaller value differences. Our eyes can pick up on details that the camera doesn't see, which is most noticeable at the edges of the spectrum where the camera loses detail and instead gives us flat white and black. This adds a layer of complexity to photographing window treatments, but it doesn't make it impossible.
Hiring a professional photographer with experience shooting interiors will likely yield the best and most consistent results. Unfortunately, that's not always possible due to budgets, schedules and other obstacles. Read on for some tips that may improve your window treatment photographs the next time you find yourself behind the camera.
Brighten the Interior
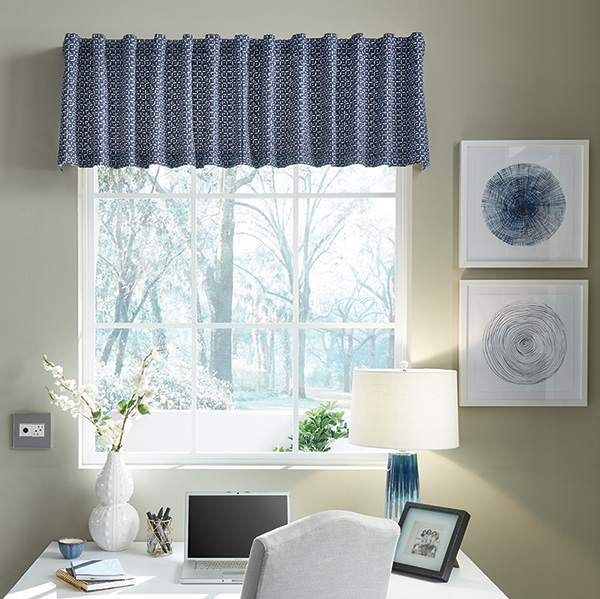
By adding light within the room, you achieve better balance with the light outside and narrow the dynamic range that the camera needs to capture by removing some of the extreme lights and darks.
- If there are other windows or doors nearby, make sure they're letting in their full amount of light. Light filling the room from other directions will counteract some of the light coming in through the window.
- If you still don't have enough light, turn on all of the lamps in the space. Be aware that the lamp light will likely be a different color than the sunlight; this isn't ideal, but it will allow the camera to pick up details that might otherwise be lost. A photo's color can be corrected at this level with relative ease, but if the details aren't picked up in the first place there isn't much that can be done.
- It can be worth a try to turn on the camera's flash, but it shouldn't be relied on as the ultimate solution — if it were that easy, you wouldn't be reading this article! Oftentimes, the camera flash isn't as helpful as we'd like it to be because it sends light directly toward the subject, creating washed-out highlights and dark shadows. However, if you've already brightened the room as much as possible, the flash might provide just enough extra light to take the photo from good to great. In addition, some cameras will allow you to aim the flash toward the ceiling for a softer, more pleasing effect.
Darken the Exterior
Again, the goal here is to produce a better balance of light to minimize the dynamic range that the camera needs to capture.
- If the window you are photographing has multiple window treatments, try closing the sheers, shades or blinds. This may soften the outdoor light enough to bring out details in the draperies and top treatments.
- Try a different time of day. While it seems like noon would provide perfect lighting, the sun can act like a spotlight at that time of day with glaring light and harsh shadows. Try early mornings or late afternoons, when the light will be warmer and more indirect.
- Try a different day. The light in a sunny cloudless sky can shine and reflect relentlessly. Try photographing on a day when there's partial cloud cover, which can filter and disperse the light for a softer effect.
Change Your Focus
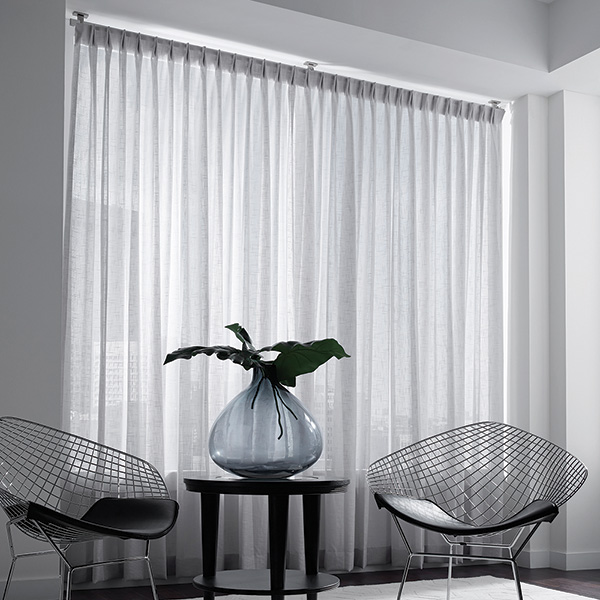
When you aim your camera at a subject, it's programmed to consider that the most important part of the photo. Unless you change the settings, the camera sensors will prioritize the lighting for the area of focus.
- Rather than aiming directly at the window, focus your camera on a mid-tone area such as the window treatment before shooting the photo. How to do this will vary for different cameras. On a mobile device, you may be able to tap the part of the screen that you want in focus. With a point‑and‑shoot or DSLR camera, you can often press the shutter button halfway as you aim at the window treatment, then shift the camera toward the window before pressing the shutter button down the rest of the way.
- Try different angles. Instead of standing directly across from the window, stand off to one side so the sunlight isn't coming straight toward your camera. Climb a flight of stairs or sit on the floor for different points of view.
- Try different distances. By stepping back to take in as much of the room as possible, you can shift the balance of light coming into the camera. If you shoot in high resolution, you'll be able to crop the photo later without sacrificing quality. Or zoom in on details such as drapery headers and decorative trimmings to sidestep the intense window light.
Research and Practice
I know, you already have a lot on your plate, but the best way to improve your photography skills is through research and practice. By preparing yourself ahead of time, you'll not only take better photos but you'll also take up less of your client's time in the process.
- Read up on the settings for your camera, whether that's through the user's manual or online research. If there's a camera store near you, look into whether they offer beginner classes for your camera model.
- Practice at home using different lighting and camera settings. Pay attention to what you need to change based on the direction the window is facing, time of day, and weather conditions. Note how those settings need to shift when the colors of the walls or window treatments vary, or when you need to emphasize particular details.
- Experiment! Have you noticed that I've used words like "try," "should," and "may" throughout this article? That's not by accident. There are many variables that can affect your photos. What works in one space may not work in another space, or even in the same space under different conditions.
- Always take more pictures than you think you'll need. Sometimes one little shift will make a big difference.
George Eastman, founder of the Eastman Kodak Company, is quoted as saying, "Light makes photography. Embrace it. Admire it. Love it. But above all, know light. Know it for all you are worth, and you will know the key to photography."
It's a tall order, but I believe that as designers you're already halfway there. Tag your photography successes on social media with #carolefabrics and we'll share as many as we can!

Christine Bagwell
Marketing Manager
Christine has been working in marketing and creating with textiles for more than 25 years, giving her a distinctive approach to the industry.

